🎛 Midjourney Settings Explained
Get the most out of Midjourney by accessing and customising the settings.

Midjourney is an increasingly powerful and versatile piece of AI that can achieve a huge amount of stunning and interesting things.
However, if you don't properly utilise the settings then you cannot fully explore Midjourney's full capabilities.
How To Access Settings in Midjourney
To access the settings in Midjourney use the /settings prompt.

This will then reveal all of Midjourney's settings.

When the boxes are coloured green, this means that that setting is active and when they are grey they are not active.
The settings that you are able to change are:
- The model of Midjourney you are using to generate images
- Switch RAW mode on/off
- Stylize Amount
- Public Mode
- Remix Mode and how much variation is applied
- How quickly Midjourney generates images
How Do I Change Settings in Midjourney?
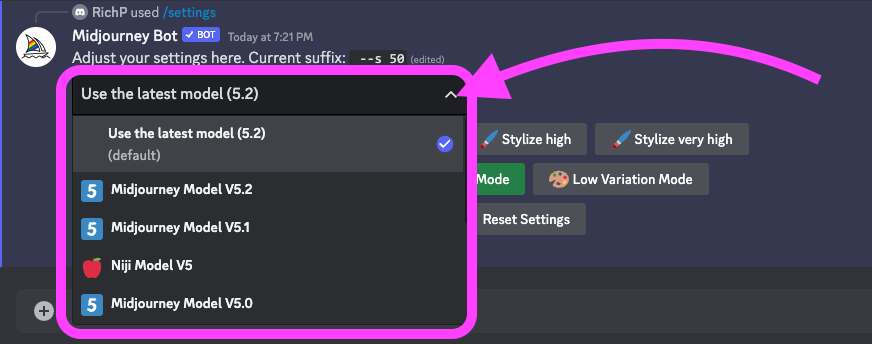
Once you have accessed the settings, to change them just click on the box that you want to use.

If you want to change the version of Midjourney you use then you'll need to click on the dropdown menu.
Change the Midjourney Settings in Your Prompt
You can also change the settings you use in Midjourney on a prompt-by-prompt basis by using the relevant parameter prompt.
- To change the Stylize value use "--style" or "--s"
- To use RAW mode use "--style raw"
- To change the version of Midjourney use "--version" or "--v"
- To change the speed of Midjourney use "--fast", "--turbo" or "--relax"
Does The Version of Midjourney Matter?
The best way to answer this question is to take a look at examples of how each version of Midjourney handles the exact same prompt.
According to the Midjourney documentation, "The Niji model is a collaboration between Midjourney and Spellbrush tuned to produce anime and illustrative styles with vastly more knowledge of anime, anime styles, and anime aesthetics"
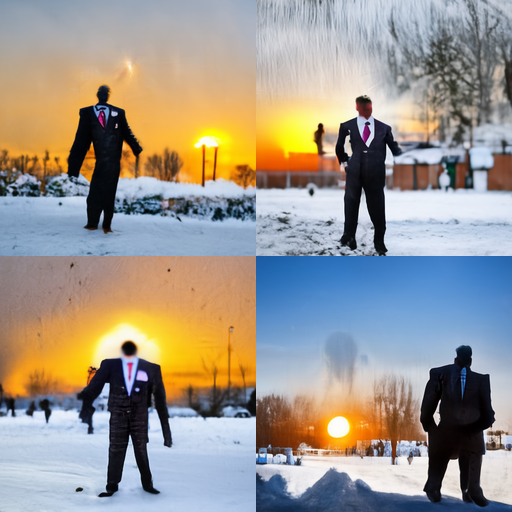
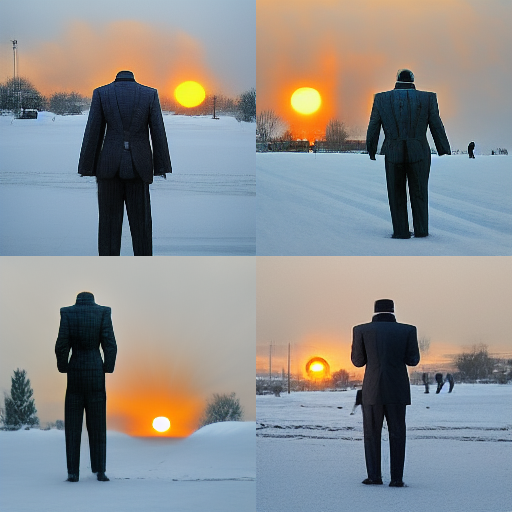
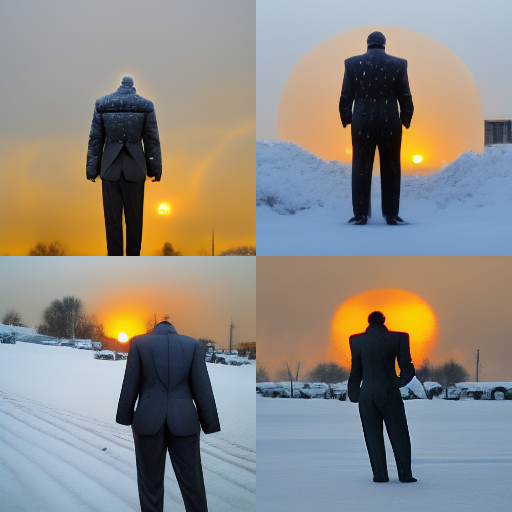
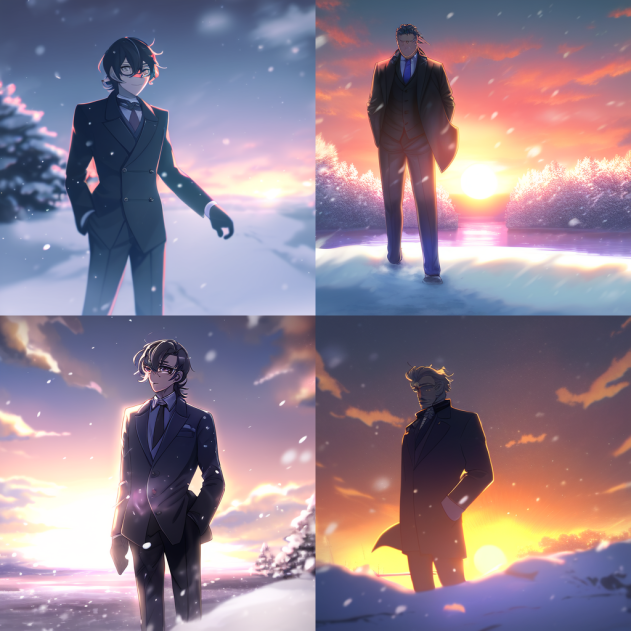
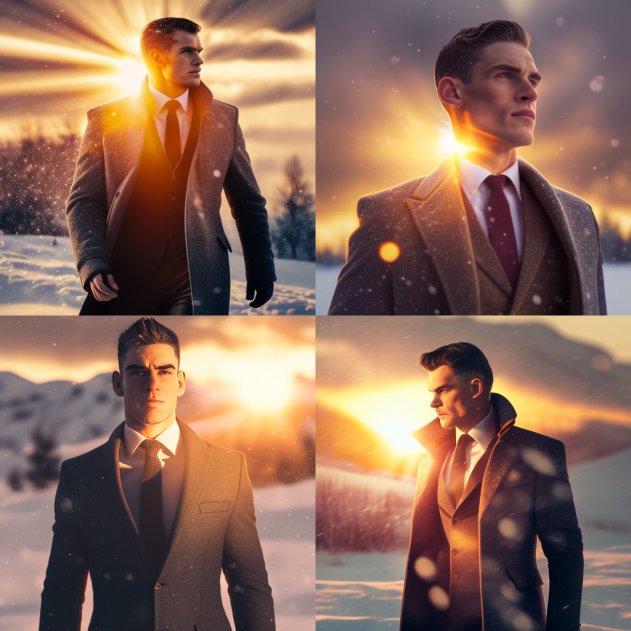
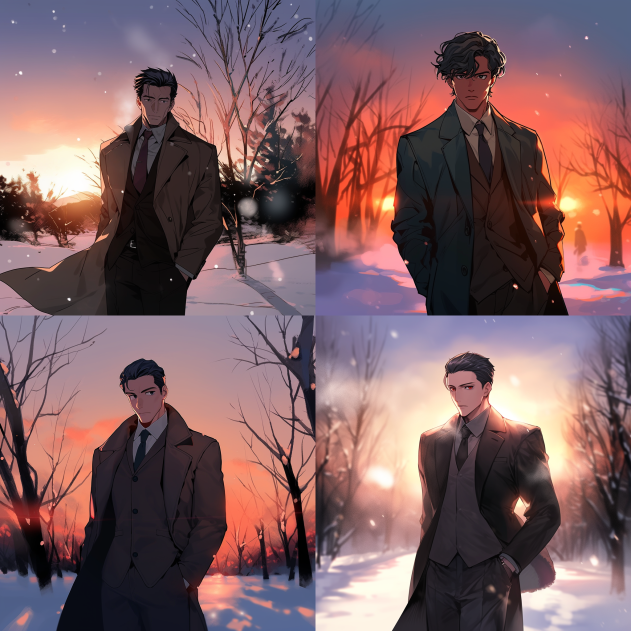
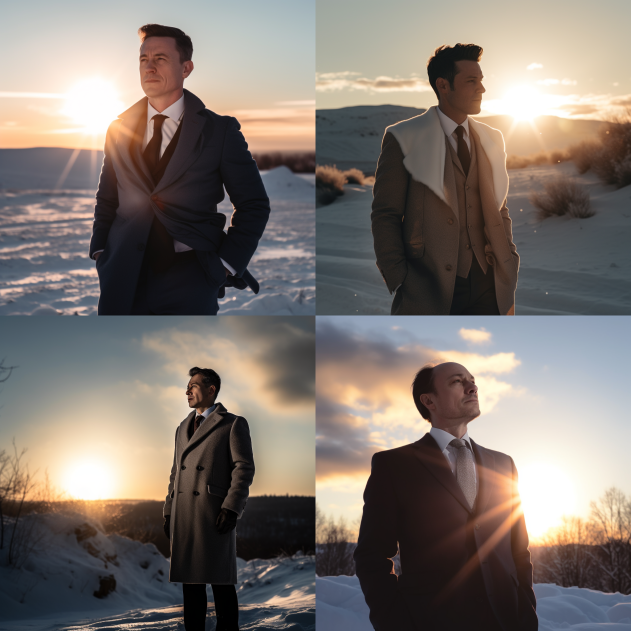
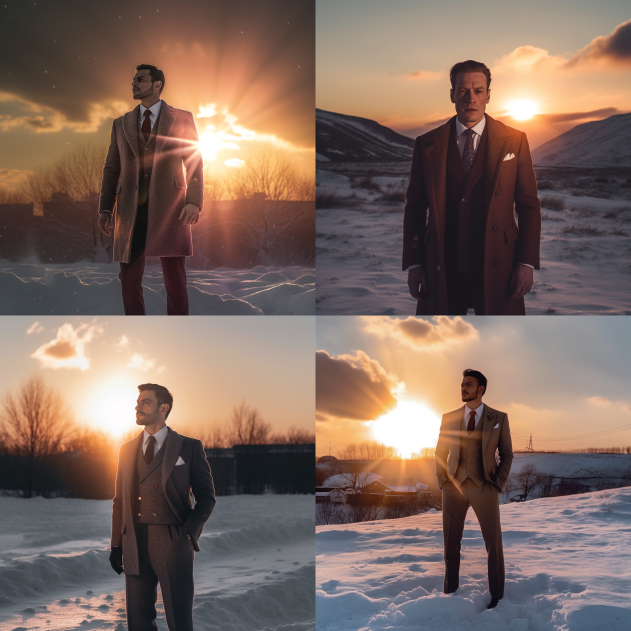
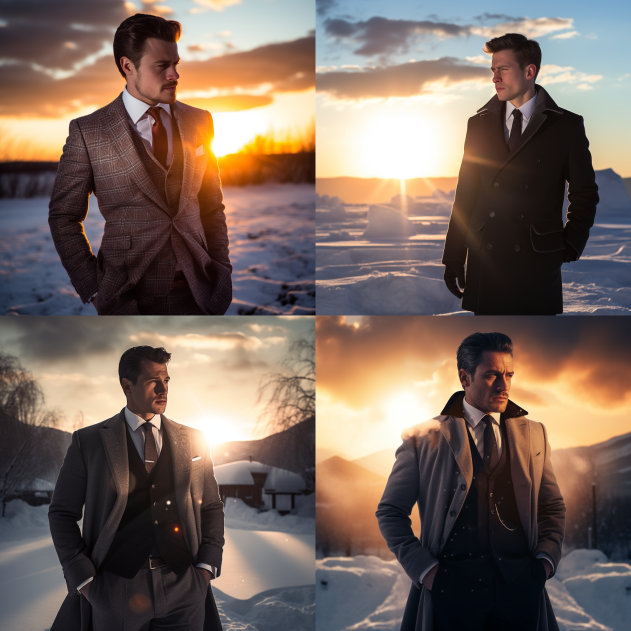
Aside from the obvious differences in quality, the later versions of Midjourney allow greater control of more parameters (like the weird parameter for example).
What About RAW Mode?
If you want more control over your images or want a more photographic style then using the "--style raw" mode is what you need.
Imagine a Vogue photoshoot of a female pop group in the 90s...

Now using the RAW mode...

The results are subtle but you can see that if you use an extremely specific prompt using the RAW mode you might get more control over those tiny details that make a big difference.
For example, cinematic shot, Wes Anderson movie, an old stylish man wearing glasses, wide angle, shallow depth of field, symmetrical, Kodachrome --ar 16:9 --c 50 --style raw...

Ready, Settings, Go!
Now that you have got a handle on the Midjourney settings it's time for you to start writing your own prompts, saving your images and maybe just have a load of fun in the process!
P.S. Using the seed of the image gives you even more control over what Midjourney produces, just saying...
